How to cut Jersey knit fabric?
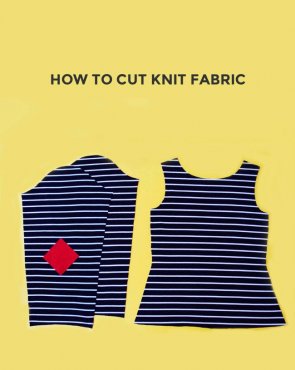 Knit fabric behaves rather differently from woven material, so whether you’re making Coco or another sewing pattern, there are a few things to bear in mind when cutting it out.
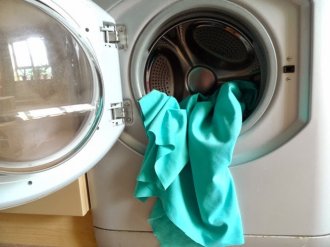
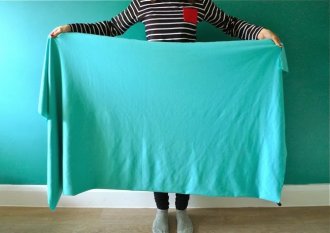
Firstly, even though it’s stretchy, knit fabric can shrink just as much or even more than woven fabrics when it’s washed. So it’s important to prewash and dry it before you cut and sew together your top or dress – you don’t want to end up with a garment that ends up too small for you after the first wash! Knits tend not too crease as much as some kinds of woven fabrics, but you may still need to give it a press before cutting so it lays as flat as possible on your cutting table. Drying it hanging up or pressing it with the end hanging over the ironing board may cause it to stretch out a little so, if you can muster the patience, lay it flat or folded on a table to rest for a couple of hours before you start cutting into it.
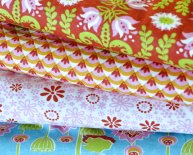
When your fabric is ready to cut, fold it in half lengthways, right sides together. The “right side” of the fabric is the side that you want to show on the outside of your garment. On some fabrics, it may not be immediately obvious which side that is – take a close look. The right side may feature a weave that looks more vertical in structure than the wrong side, or it may have a slightly different tone when held up to the light. If you still can’t tell which is which, it’s likely people admiring your handmade dress won’t be able to tell either, so don’t worry too much about it!
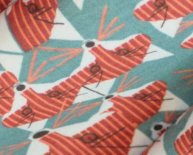
 When folding woven fabrics in half to cut them, we usually bring the selvedges – or woven edges – together to do so. Knits can be slightly different. Firstly, some knit fabric comes in a tubular shape – you can either leave it like this or cut it open along one of the folds. Secondly, the lengthwise raw edges of the fabric may be self-finished, or they may have little dots of glue along them, or they may simply be cut. If you can’t immediately see which are the lengthwise edges, they're the ones which run along the direction with the least amount of stretch.
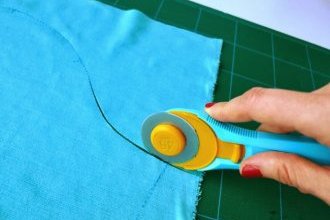
 Lay the folded fabric out flat on a table – place a cutting mat down first if you don’t want to scratch the table! If your fabric is too long for the table, fold or roll the end up so it doesn’t hang off the edge and thus stretch the fabric out of shape.
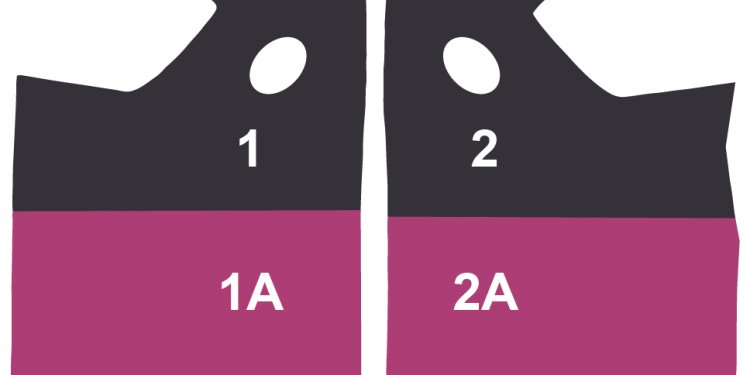
Now to lay out the pattern pieces. With fabric folded in half, we can cut two pieces at once or symmetrical pieces where the pattern is placed along the fold line. If you’re making Coco, find the pieces you need for your chosen version – depending on whether you’re adding the funnel neck, cuffs and/or pockets. You can also choose whether to cut the top version or the dress length of the bodice pieces, and three quarter or long sleeves – pick the hem line you want on the pattern pieces. The previous post showed you how to pick your pattern size – there is a key on the pattern sheets which tells you which lines correspond to your size.
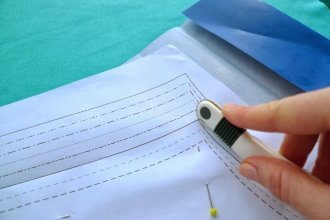
My favourite method of cutting any fabric to a sewing pattern – and this works particularly well for knit fabrics – is to trace the pattern onto the fabric using dressmaker’s carbon and a tracing wheel. To do this, we start by cutting roughly around the pattern pieces with paper scissors. Lay the pieces out onto your fabric – you can either freestyle this or use the suggested cutting layout diagram in the pattern instructions. Place any lines that say “place on fold” exactly along the fold of the fabric, and line up all the long grainline arrows so they are exactly parallel to the fold – read more about how to do this. If you want to make extra sure that the garment is going to hang straight, you could stick a pin in either end of each grainline arrow and check that it is running exactly along one rib of the fabric. For sewing geeks only! Hold the pattern pieces in place using pins or weights. Now trace the pattern lines onto your fabric using dressmaker’s carbon and a tracing wheel. Add in the markings too - the notches and small circles. Take the pattern pieces off the fabric before you cut it out.
Share this article
Related Posts
Latest Posts


