
DIY block printing
 I have wanted to try my hand at block printing for a few years now, and my Home Depot Style Challenge gave me that opportunity. There’s something so appealing about washed linen covered in imperfect patterns. A little more ink here than over there. A little difference in sheen, scale, angle. I just love it. It’s comfortable because it’s not…perfect.
Over time, I have been collecting vintage Indian textile stamps. I will find them at estate sales, or the flea market, or a random antique store. I even bought one on display at a local boutique (they had it hanging on the wall). For this project, I used several stamps from this Etsy seller, and she was GREAT! Highly recommend. (If you make a purchase from her, please tell her Grace sent you.) After I had gathered my stamps and fabric, I knew I needed to study how this was actually done. The beautiful video below was done by West Elm, and you will be in awe of he intricacy in which these stamps are carved, and the strong hands that create this art.
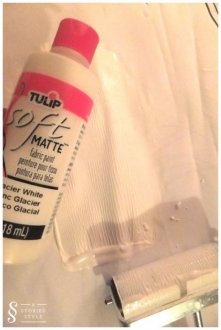
I really wanted to use the Indian ink for this project, but to be honest, I thought it would be easier to start out with fabric paint. The ink was a little too intimidating for my first time. But now that I have stamped (A LOT!), I think my next project with these beauties will involve the real deal ink.
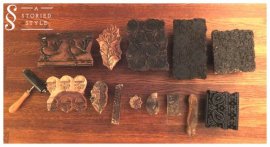
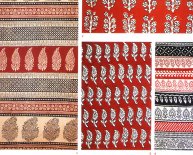
This is part of my block collection, and the stamps I used for my front porch project for Home Depot. On the lower left hand side, you can see my brayer which is a very important part of this task.
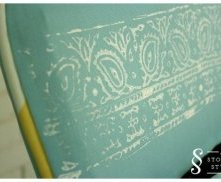
I love all of the carved detail.
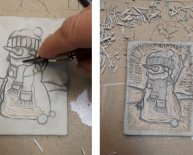
I used a large piece of cardboard to put my paint on since I utilized a few different colors. I squeezed a blob of my fabric paint (you can find this at any hobby store and even Walmart) onto the cardboard and rolled it with my brayer to make it smooth and even.
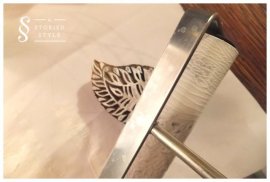
Then I rolled the brayer onto the stamp and stamped it on a scrap piece of paper a few times to test the pattern. I would definitely play with how much paint/ink you want on your stamp before starting on your fabric. It takes a bit to get a good feel for what you want. After I rolled the stamp with my brayer, I lightly dipped it in my thin paint layer for a little more coverage.
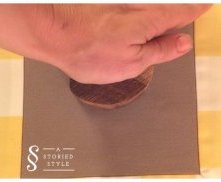
I wish I was as cool as the guys in the video and just did a karate chop with my hand to get the stamp to press properly on the fabric, but I’m not that skilled yet. I did put light, even pressure on the stamp, pushing for a few seconds before removing the stamp. Remove the stamp quickly and all at once so you don’t leave any splotches.
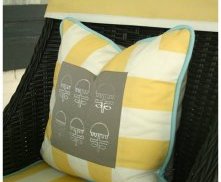
And then, you will have this!
I also stamped the front and back of my “half shirts” for the chairs, and a word to the wise…if you are stamping something like a duvet or something two-sided, make sure you put a piece of cardboard or thick cardstock between the two in case you have any bleeding through the fabric. I didn’t have a problem with this, but since I was using outdoor fabric, my fabric was pretty thick.
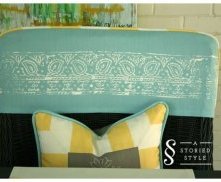
For me, most of the fun of this project was playing with patterns. I also liked how it ended up looking kind of weathered. Of course, you can make your pattern look as solid as you want. I kind of went with whatever happened for this project and didn’t sweat little “mistakes”. I think it adds to the charm of this particular setting.
I would recommend washing your fabric before stamping it so your pattern doesn’t get skewed upon laundering. The napkins I stamped have washed beautifully! First, I bought a couple of these packs from World Market.
I washed them and followed the steps above.
And created these.
They look so nice with my little basket and gold silverware. We have already used them a ton, and they still look great!
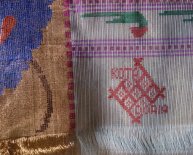
Of course, of all the hand blocked projects I did for my porch, the curtains were by far the most labor intensive. They are over eight feet long and wow, it took awhile, but they turned out so terrific!
Did you notice a few of the birds are upside down? I did that on complete acccident, but I kind of liked the little quirk, so I decided to do it here and there. The funny thing is, I only did it on purpose once. All of the other times were lucky mistakes.
Share this article
Related Posts
Latest Posts


